This can be done with shaded picture colors and shaded glasses, polarized glasses, crossing your eyes and alternating images.
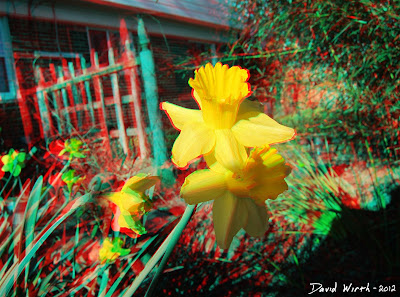
So i went out in the back yard and took some pictures of a flower, from about a foot away, moving the camera about 6" between each shot.
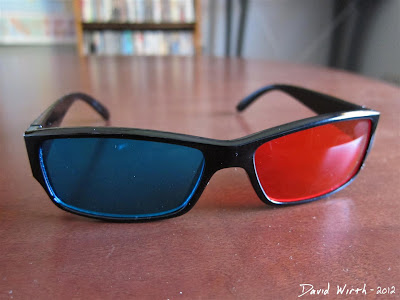
Anaglyph 3DI decided to try the Red/Cyan method for creating the 3D image. I was hoping to find those old paper glasses in a box in the basement, but when Karrie and i were at the Dollar Store i saw a pair and just bought them.
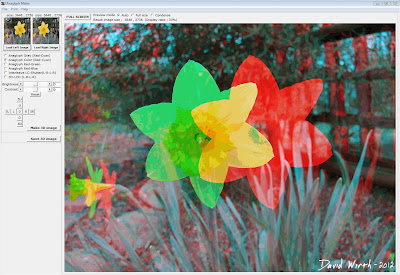
I also tried Stereo Photo Maker. It had basically the same features, was a little more complicated, but was more powerful and able to produce better 3D pictures. The same company created Stereo Movie Maker. Where you can combine 2 videos and make a 3D movie. I plan on trying that later.
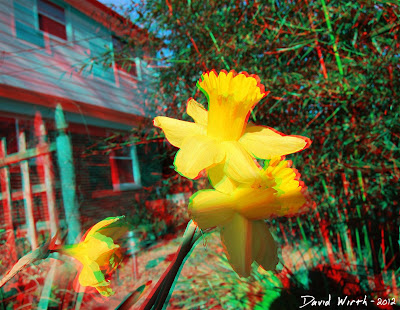
When i tried to process the first pictures and make them 3D it didn't line up correctly. Here's the two pictures that i took.

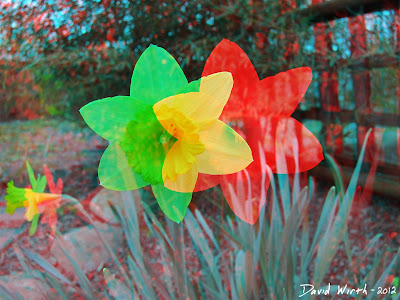
That's when i read that you need to vary the distance the camera moves depending on the distance to the object you are photographing. For example if you are very close to your subject, 1 foot away from a flower, just move the camera a few inches. But if you are photographing a building from a hundred feet away then you can move the camera 4"-6". I realized that i had moved the camera too much for how close i was to the flower.
So a few days later i went out in the front yard and took some pictures of my house, varying the distance i moved the camera. I tried moving 2", 4", 6" and 8". The two pictures below were the best of those shots. Both of them were when i only moved the camera 2". Even from this distance, when i moved the camera too much the images didn't line up as well.
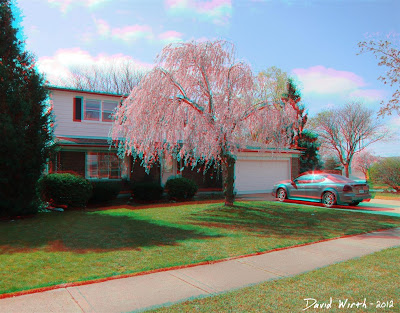
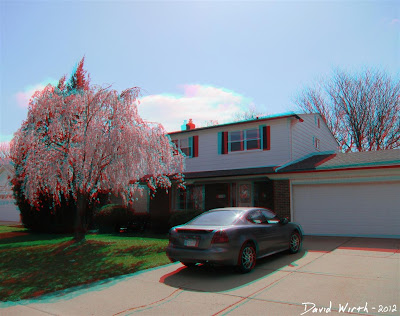
The same problem with the next picture. I could either get the background or foreground to align but not both together. I guess i could have used Photoshop and double processed the image where i aligned each part then combined them.
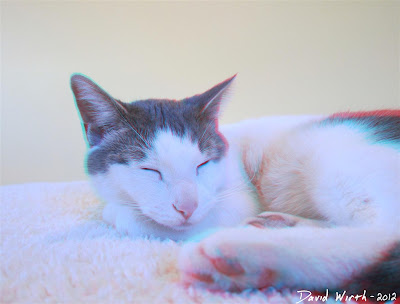
So i had to find something that would not move at all, and i found the perfect thing, Charlie.
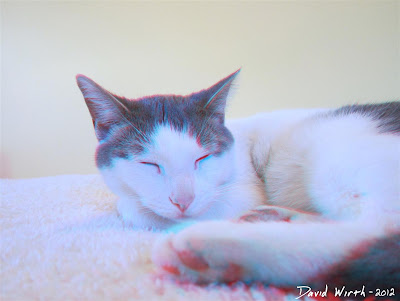
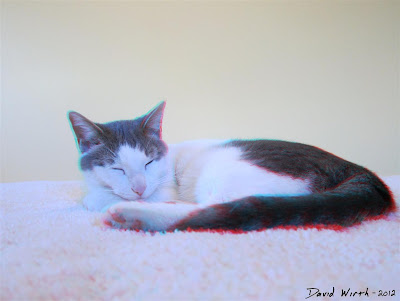
Wiggle 3D
I was using the Rec/Cyan method for looking at the pictures but there are other ways to create the 3D effect. This is the "wiggle" gif method.
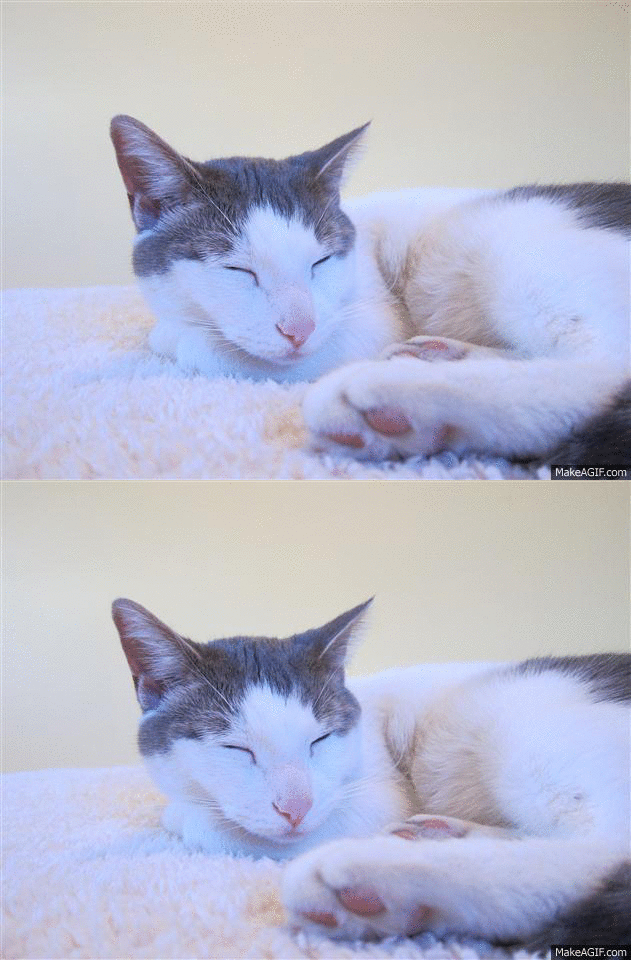
It's basically like 2 frames of a movie where your brain interprets the 3 dimensions.
Stereoscope 3D
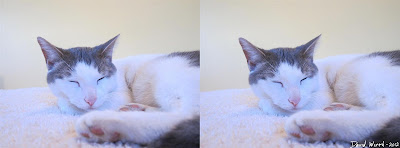
There is the stereoscopic, side-by-side method, which puts the images on opposite sides of the corresponding eyes next to each other. Then you have to look at the picture cross-eyed and there should be the 3D image in the middle. When i first tried it, it hurt my eyes. But those weird "hidden image" posters that came out 10 years ago use this same method.
It should work but i'm not sure, i can't get my eyes to cross right.
PhotoFly 3D
Similar to the Wiggle gif method but it combines many pictures to create an actual 3D model of the area. It can be used as points in AutoCAD or to create videos like in the post i wrote about earlier.
Here's one of those videos.
You have read the best review article categorized by 3D /
3d cat /
3d flower /
3D image /
align /
anaglyph /
eye /
ghosting /
layers /
Photoshop /
polarized /
red cyan /
stereoscopic /
wiggle 3d /
wiggle gif
and the title DIY - How to Make 3D Pictures. You can bookmark or spread this post by using this URL http://duiattorney-info.blogspot.com/2012/04/diy-how-to-make-3d-pictures.html. Thank You!
Comments :
0 comments to “DIY - How to Make 3D Pictures”
Post a Comment